
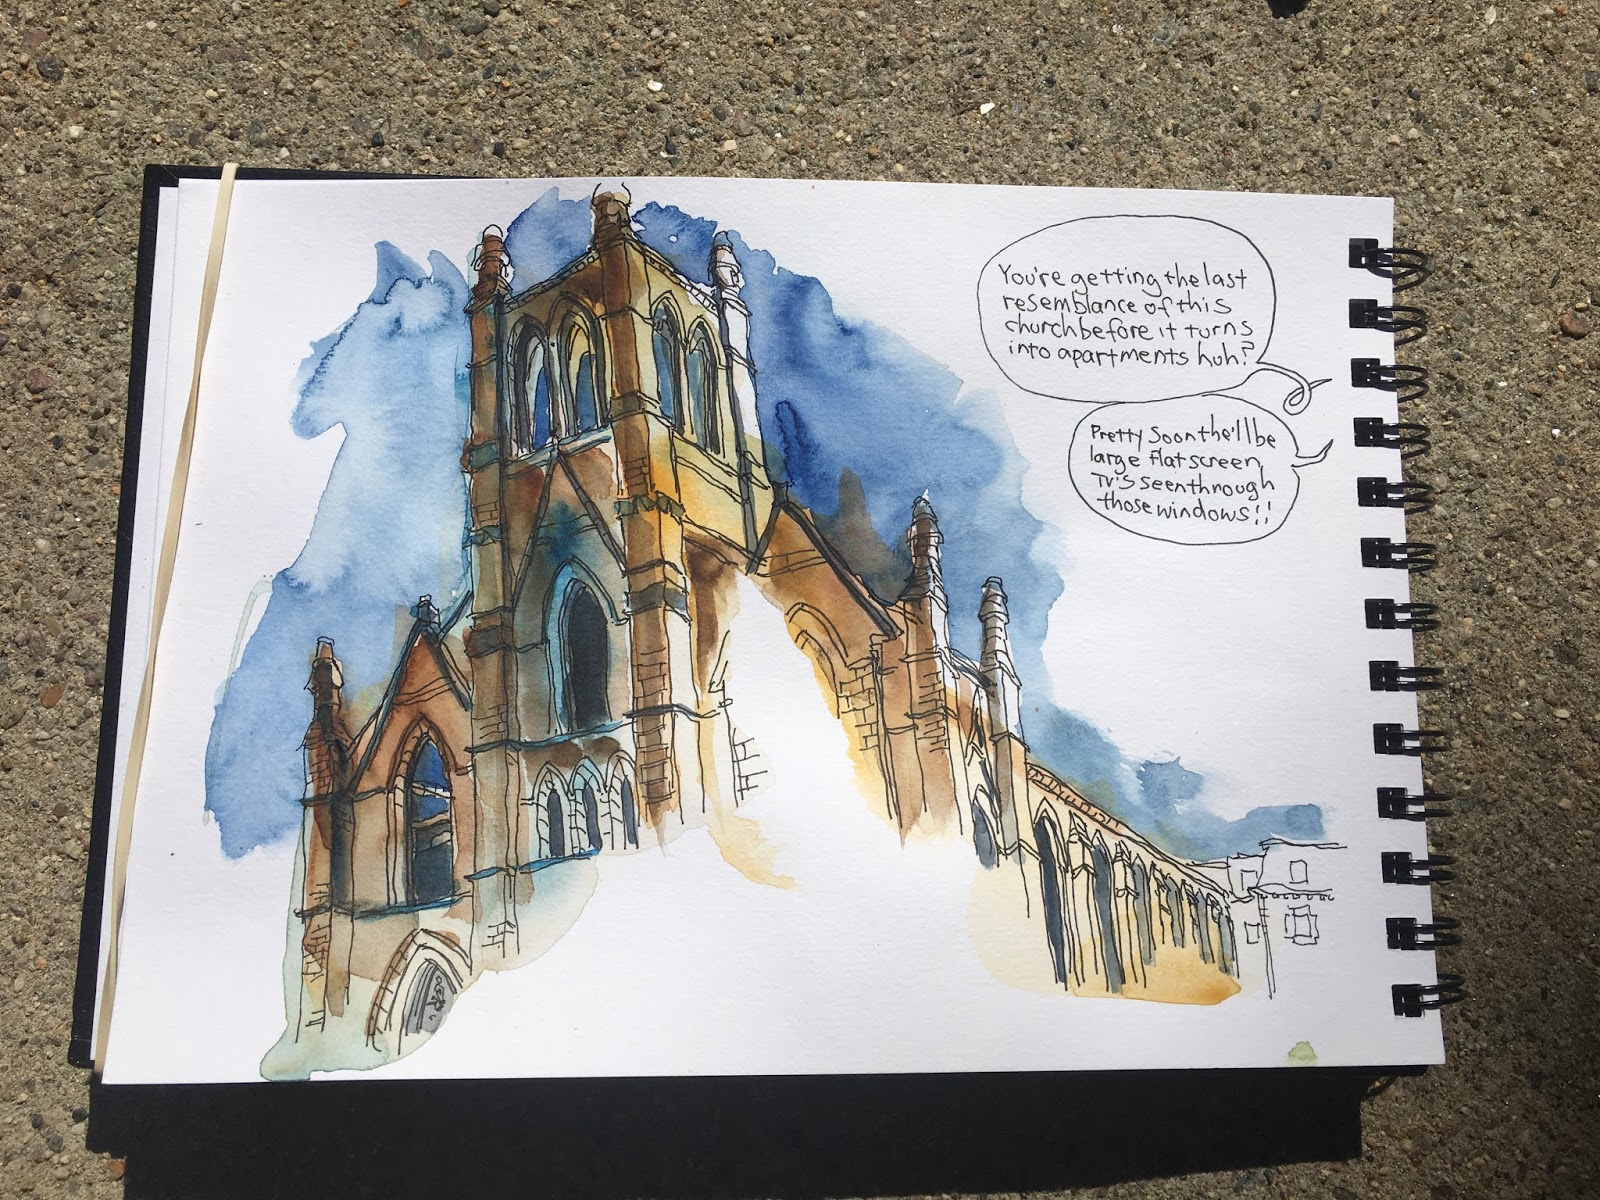
[Mike Daikubara in Boston, NYC and LA] Influenced by many amazing sketchers in our community, a few months ago I decided to try a different sketching technique from my usual approach of Fountain pen ink line first then adding color. This approach was the exact opposite of adding washes of color first, then going into the details with ink.
For my first sketch ever using this approach, I used tools found in my art closet that I even forgot that I had: a cat's tongue brush I bought many years ago (that I never used) and a small Nalgene container (which I also never used too).
I've been Urban Sketching since 2000 but have only used a Waterbrush on location so the first step was figuring out how to hold all the tools in my hand! With a little bit of fumbling around I was able to hold the color palette, water container and sketchbook in my left hand while I dipped the brush into the water container. The brush width was just about the width of the mouth of the Nalgene making it really hard to dip in, and I also had to be careful not to spill the water too (which I never had to worry about when using a Waterbrush).
Another difficult part (at least for me) was since I was using so much more water in my sketch, I had to wait a long time for the paper to dry before I could start going in with ink. This really did feel like it was forever. The sketchbook shown is my trusty Stillman and Birn Alpha series book I've been using for years but for this technique, the paper must have been too thin. I love the way the thin wash came out though - something I could never achieve with a just a waterbrush.
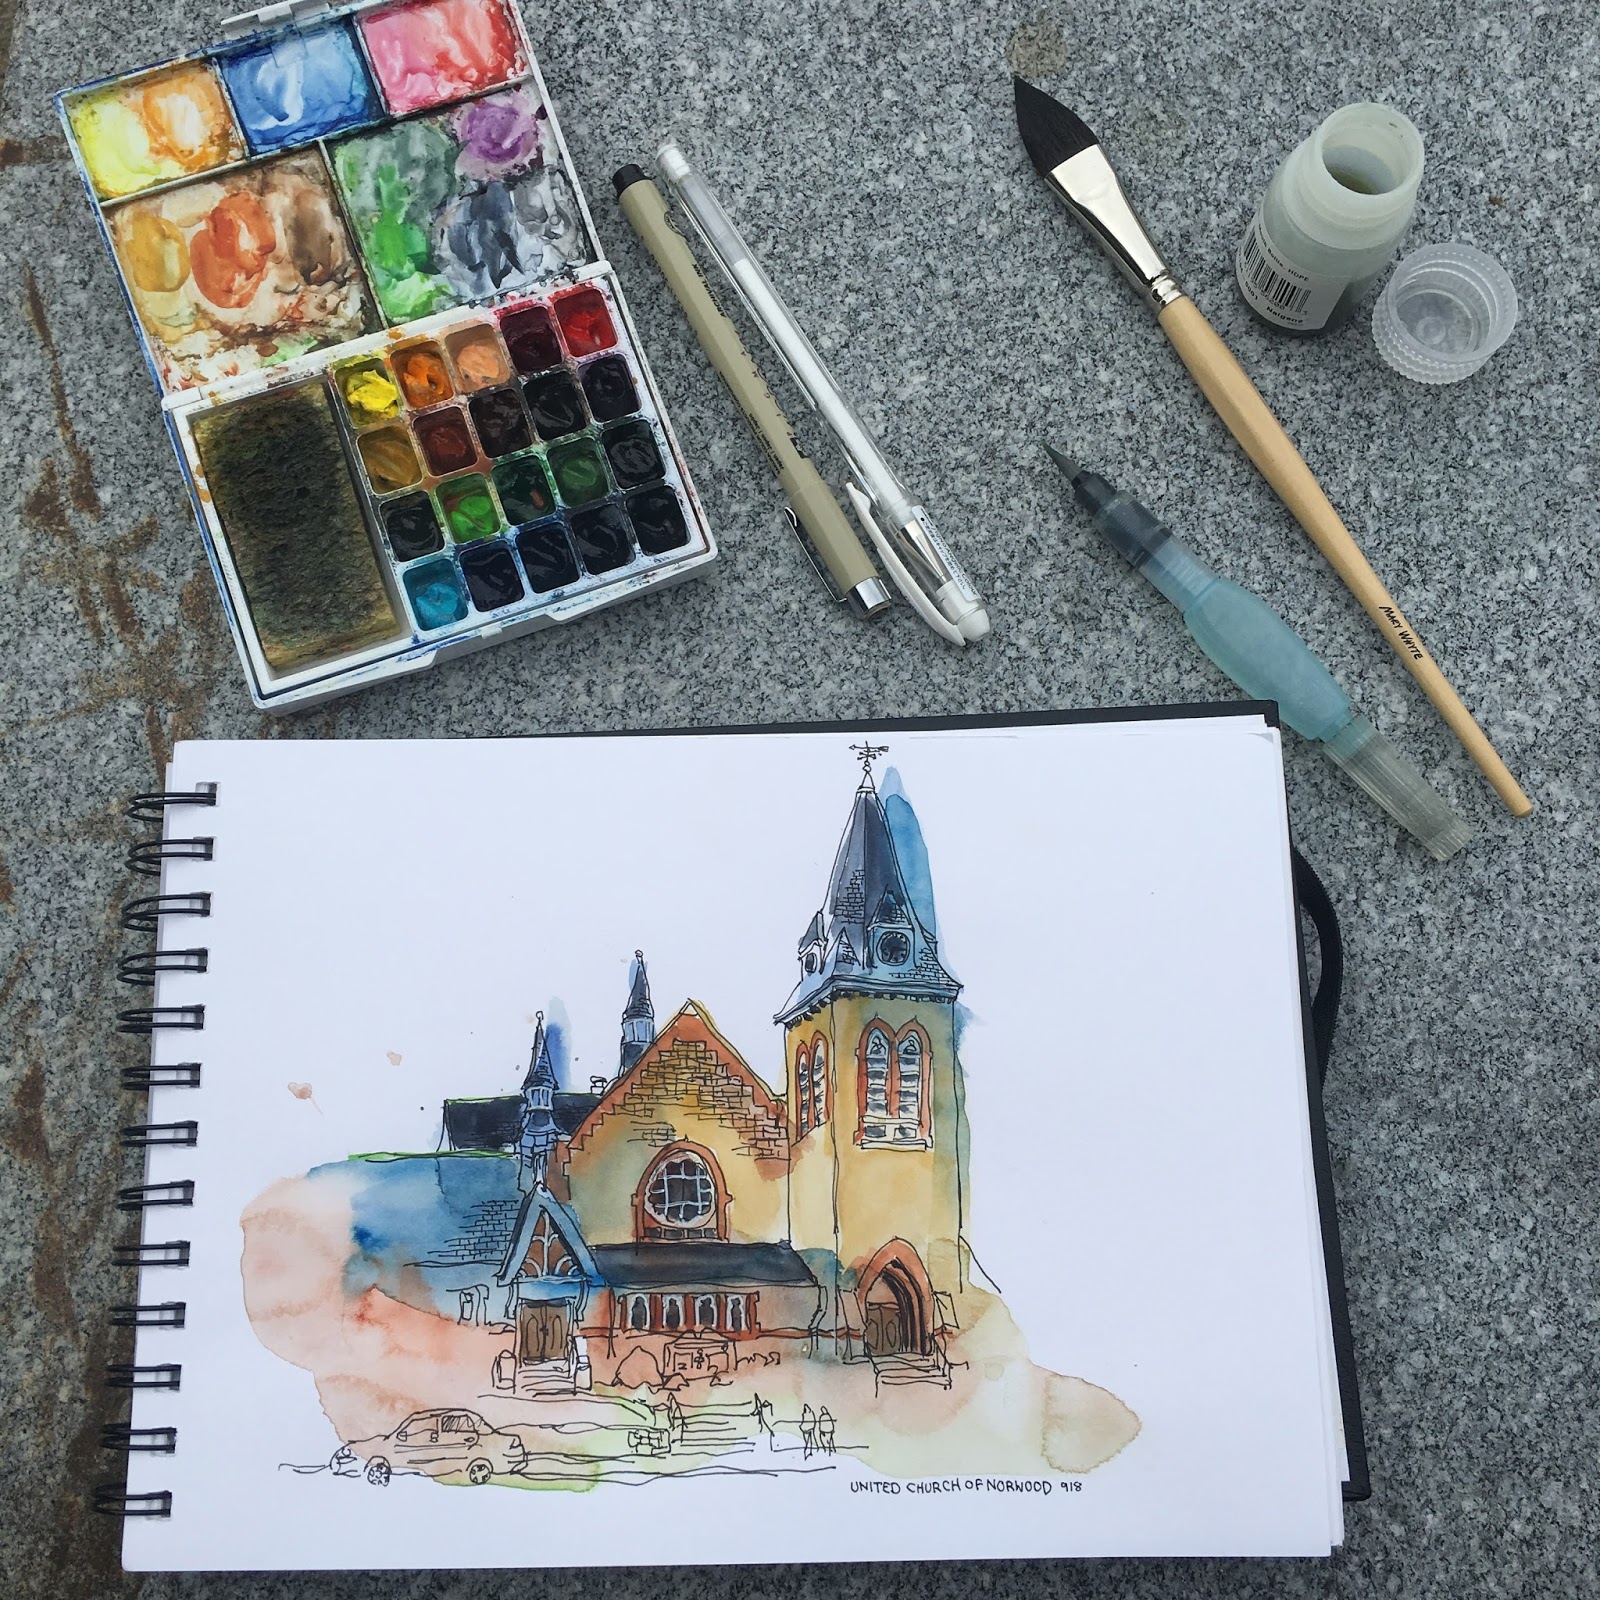
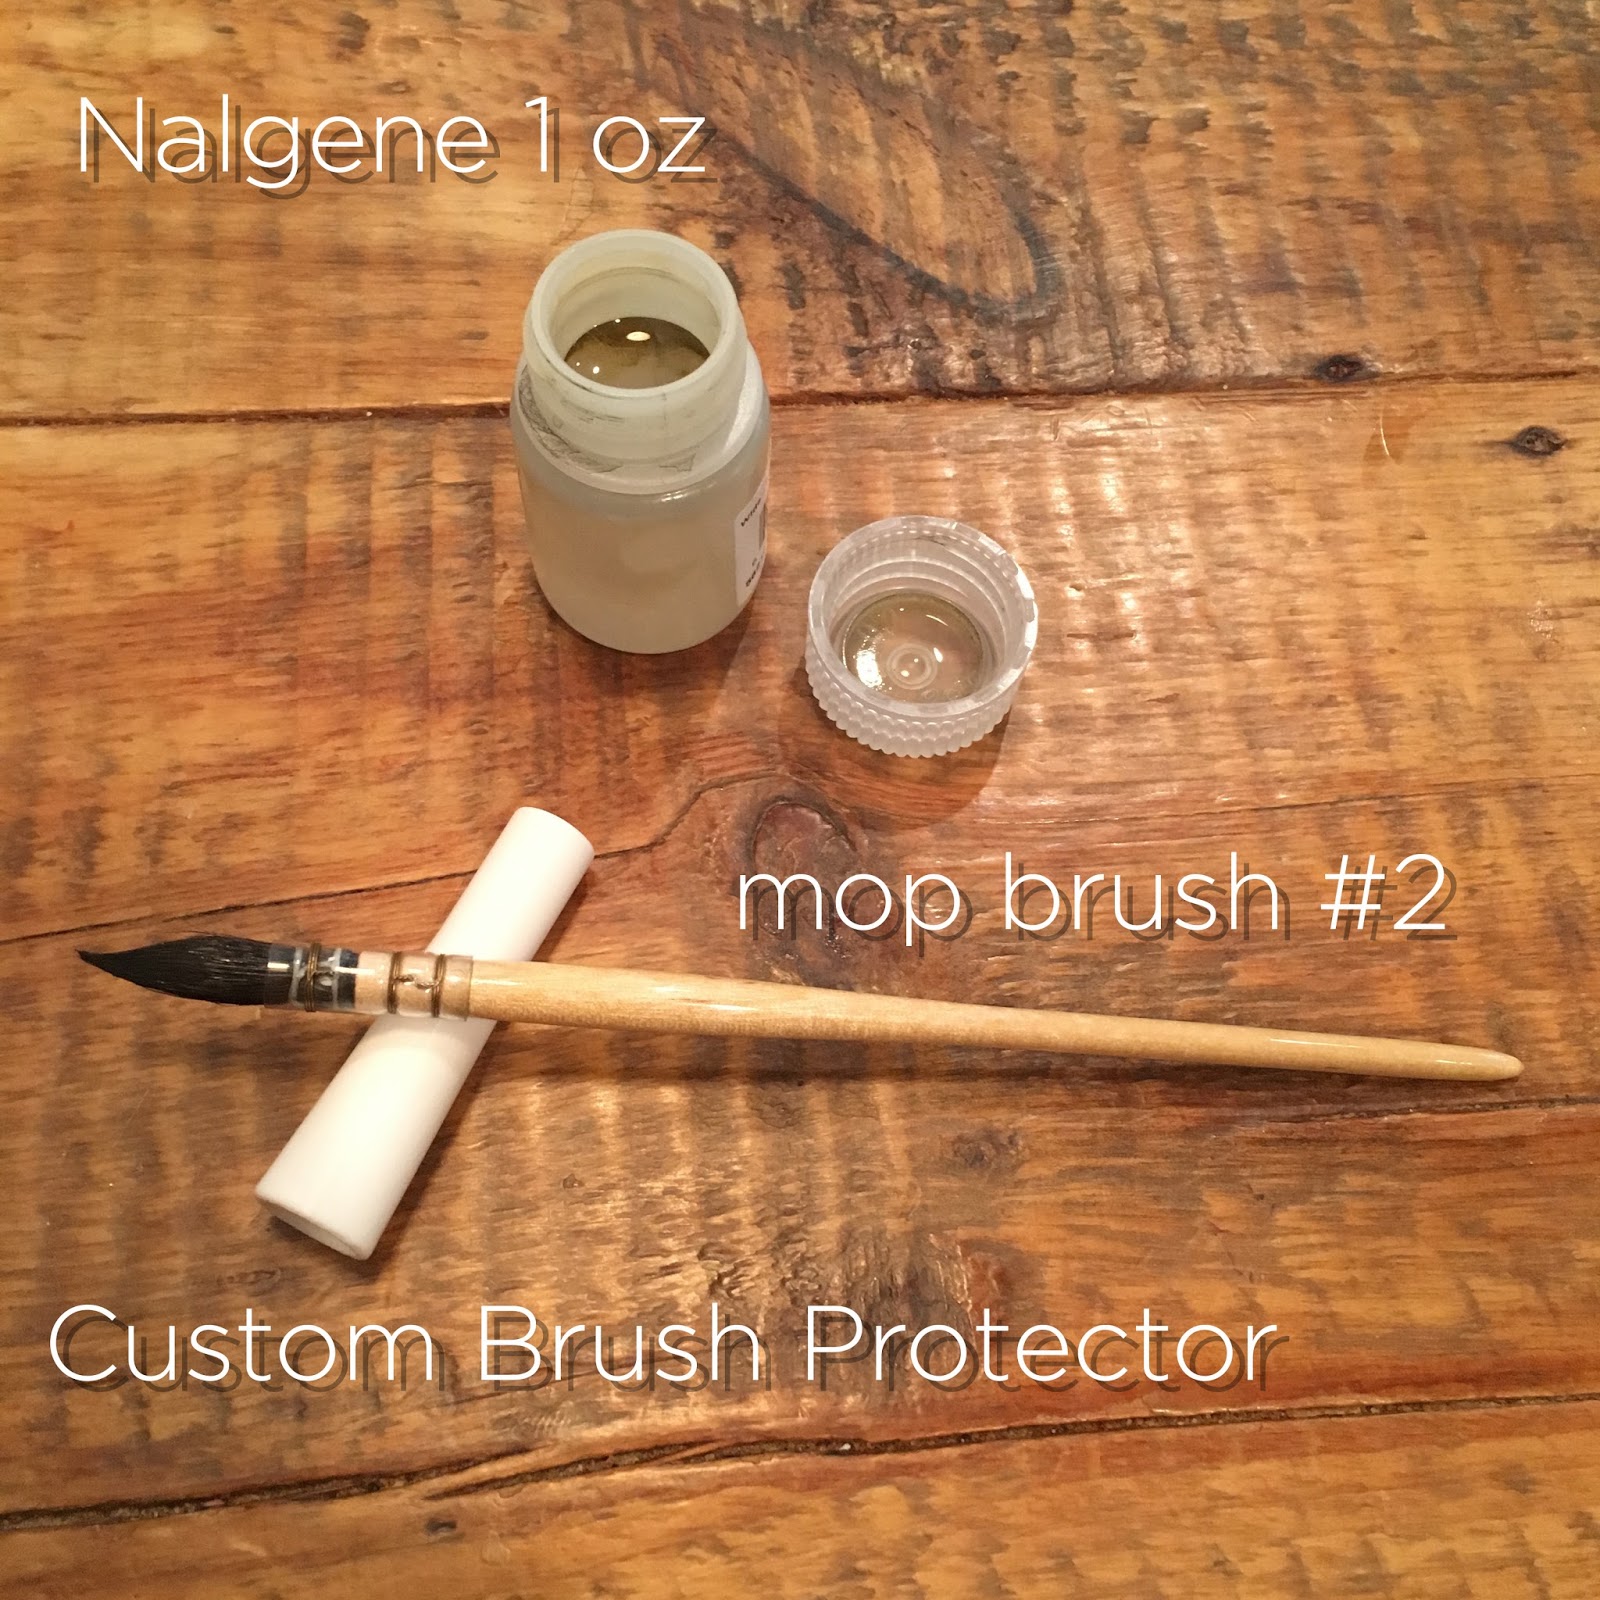
For my 2nd sketch, I switched to the thicker Beta series sketchbook and the paint definitely dried much quicker! I also purchased a smaller mop brush which holds lots of water/color and went into the water container mouth really easily too! I also 3D printed out a small plastic sleeve to protect the tip when carrying the brush in my bag - works great!

On a sunny day the wash dried much faster than I originally imagined it would take so that was nice. While I waited for it to dry, I could start to think about how I should approach the inking details too. I also noticed that my fountain pen ink lines didn't go onto dried color washes very well but switching to a Micron felt tip pen worked nicely.

There are times where I couldn't finish though since the paint didn't dry fast enough and it got too dark outside. With the inking approach first, I rarely had this issue since I could at least get the inking done and color later on from memory or a photo.
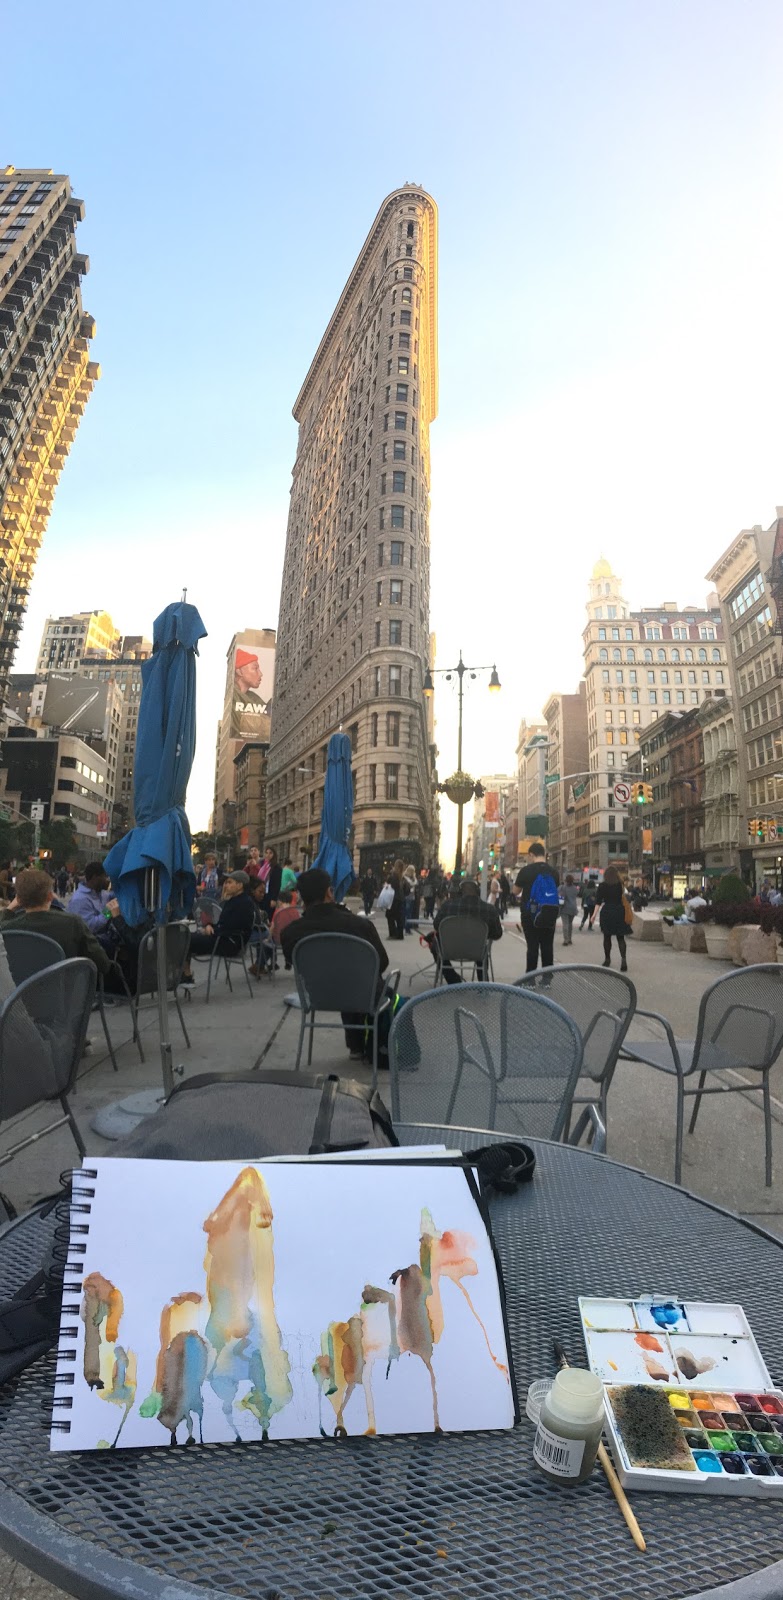
During this business trip to NYC, I also tried using pencil lines first to block out the rough shapes before going in with the color wash. It definitely gave me much more control of the shape which was really nice.
This is a crazy feeling but I also felt like I was 'cheating' when using a pencil! I think it has to do with the fact that I trained myself for so long to sketch directly with a pen without any underlines.
But in the end I was pretty happy with how this one turned out especially where some details are accented using a white gel pen.


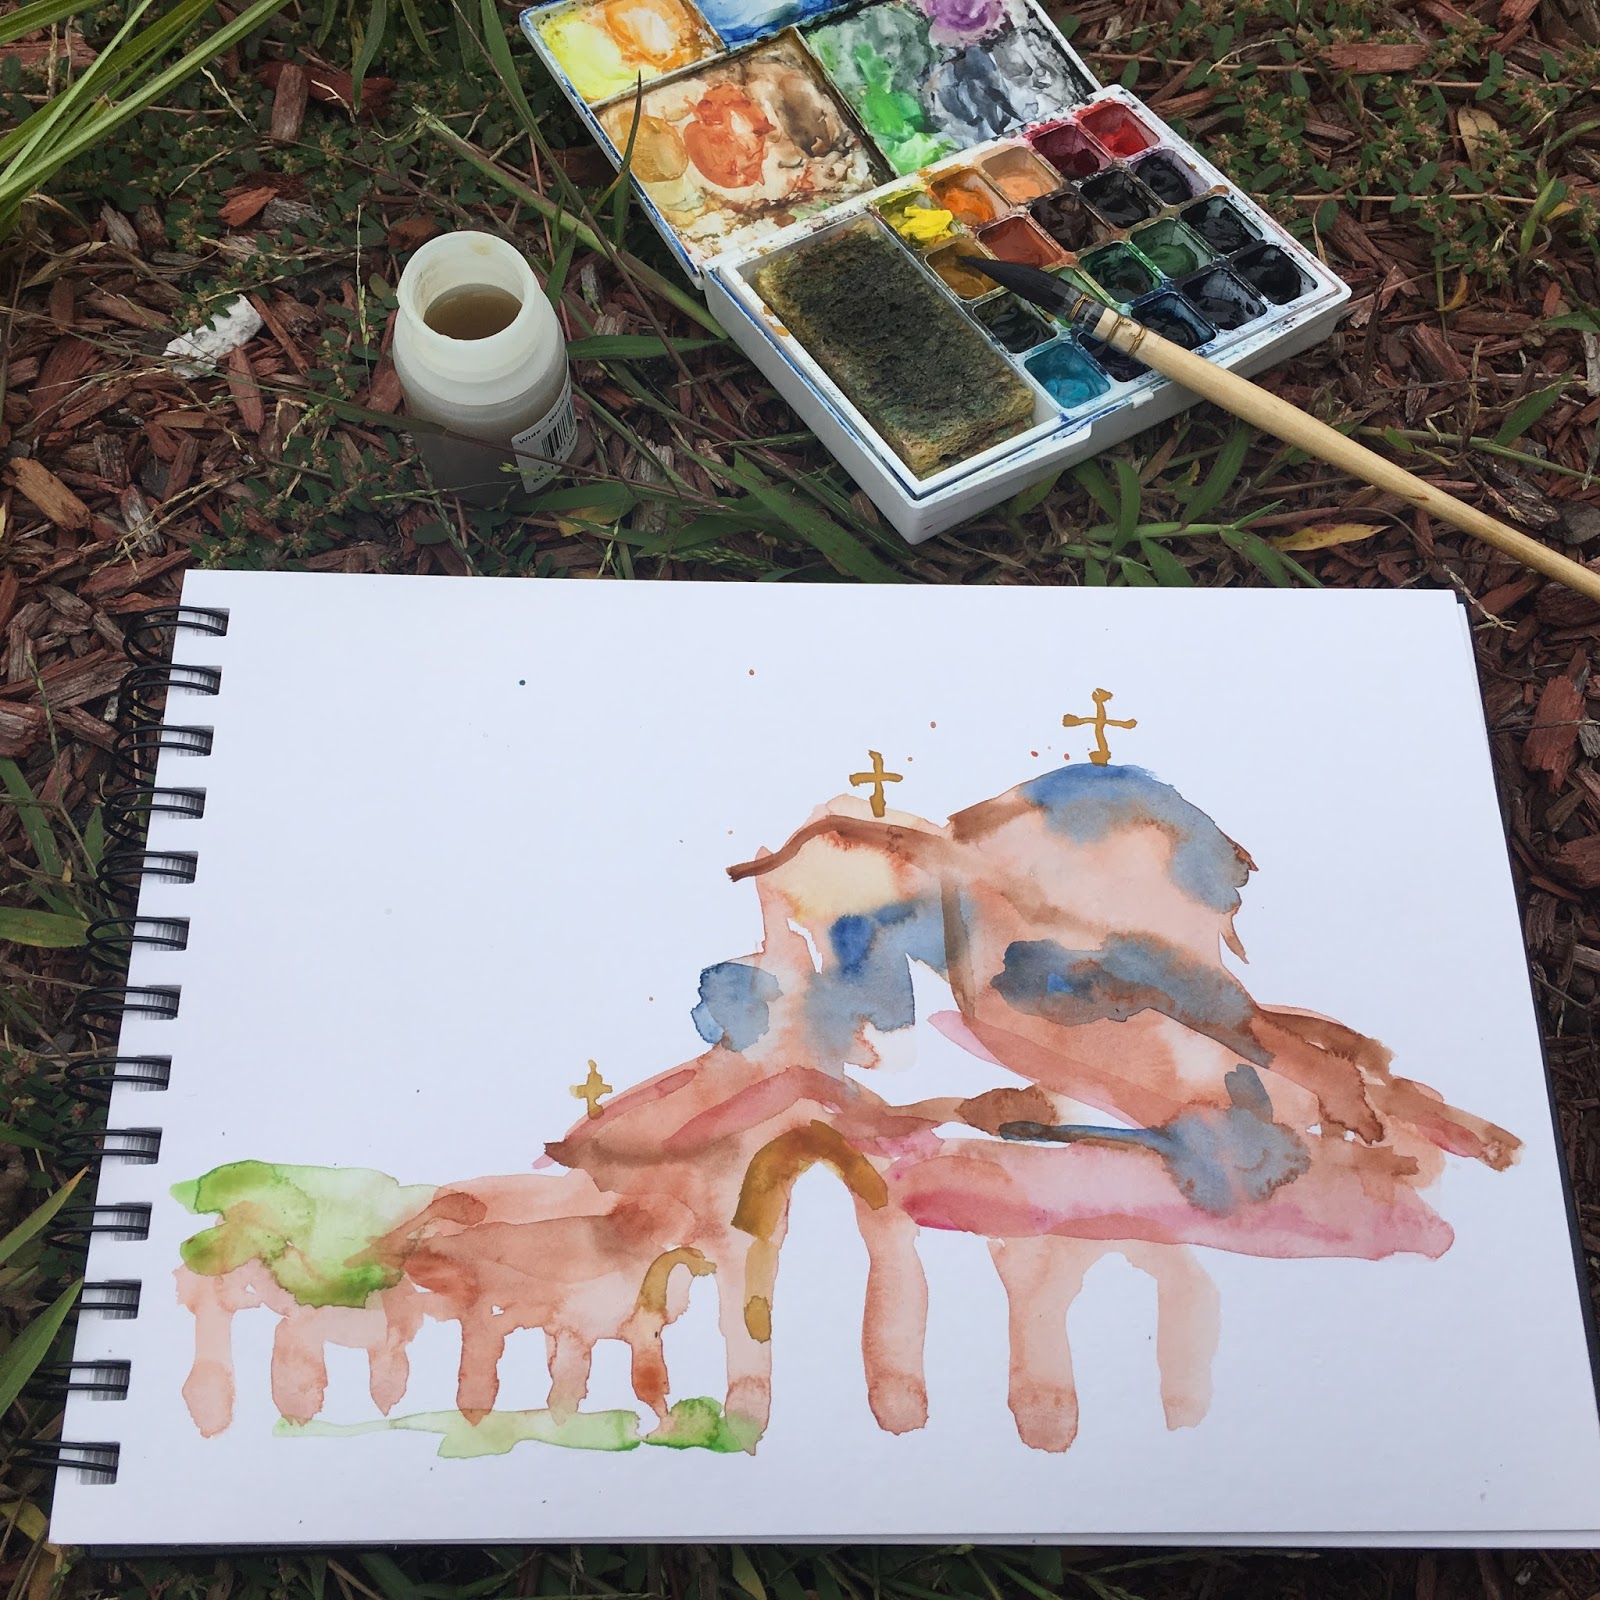
Back home in Boston, I was able to capture this war memorial sculpture just in time before sunset. I love how gravity drips the paint.


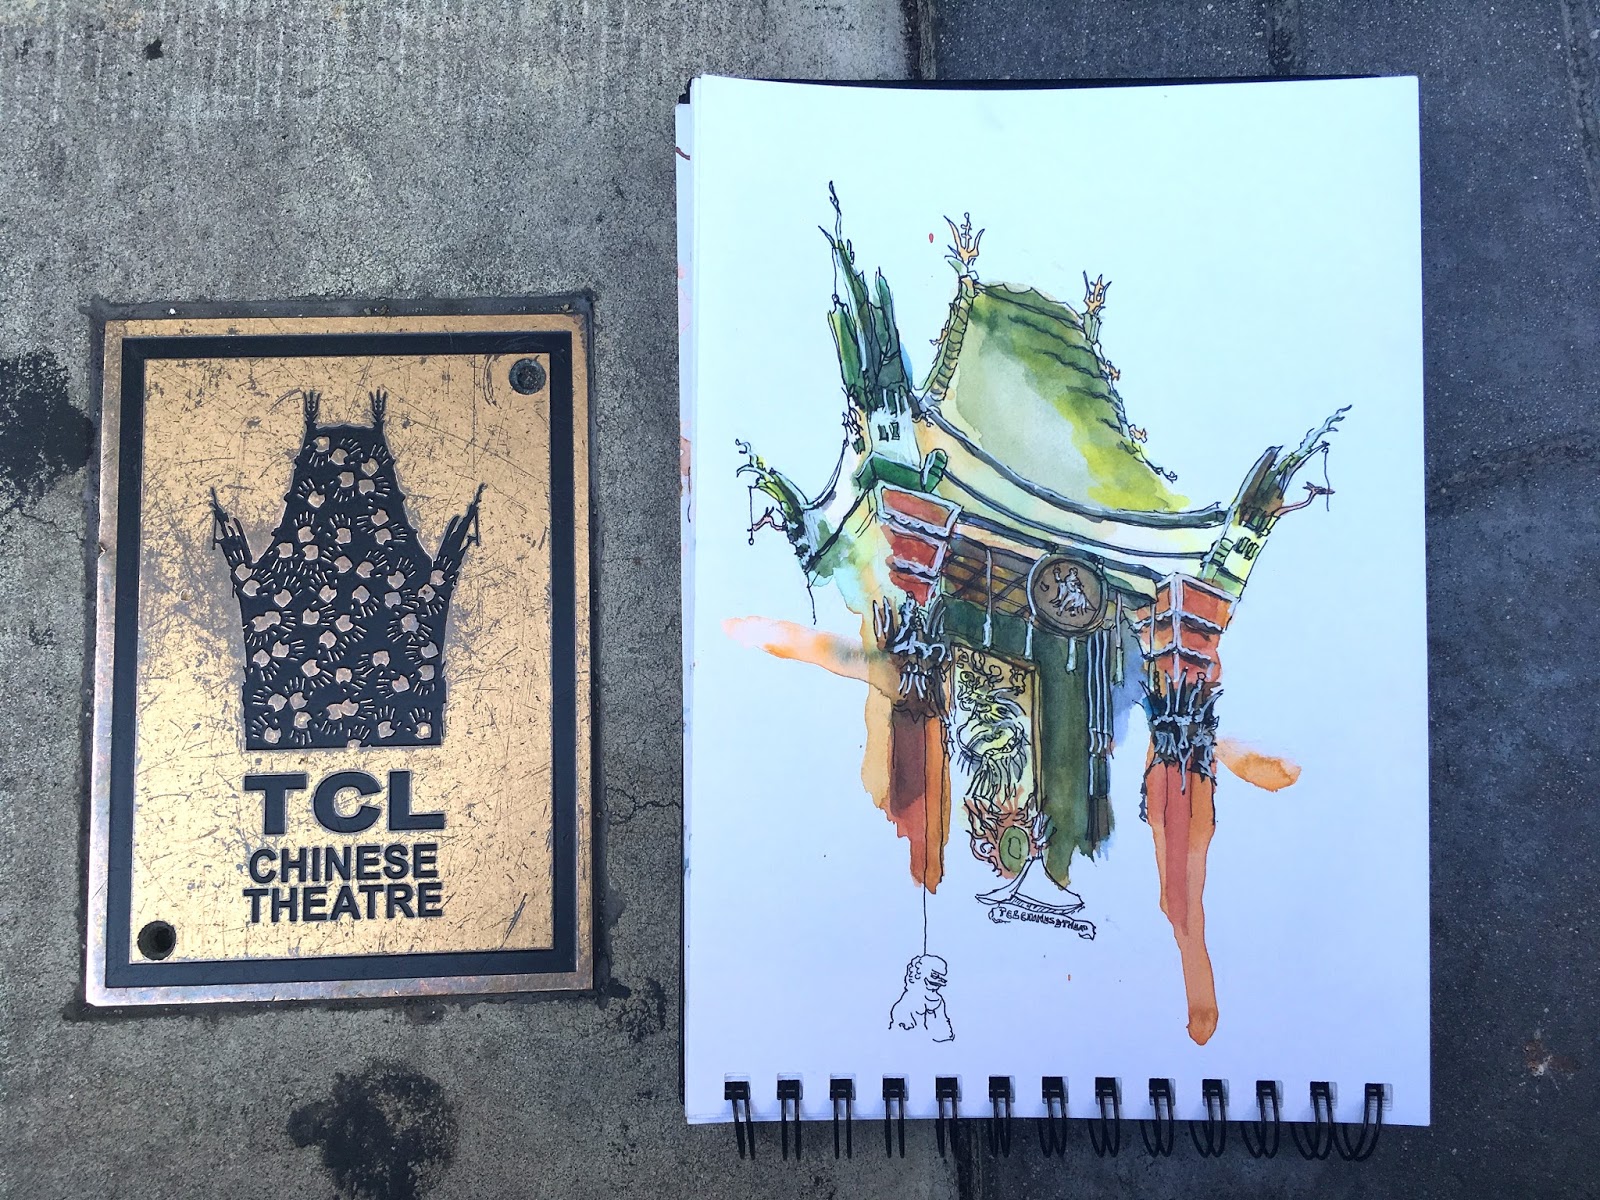
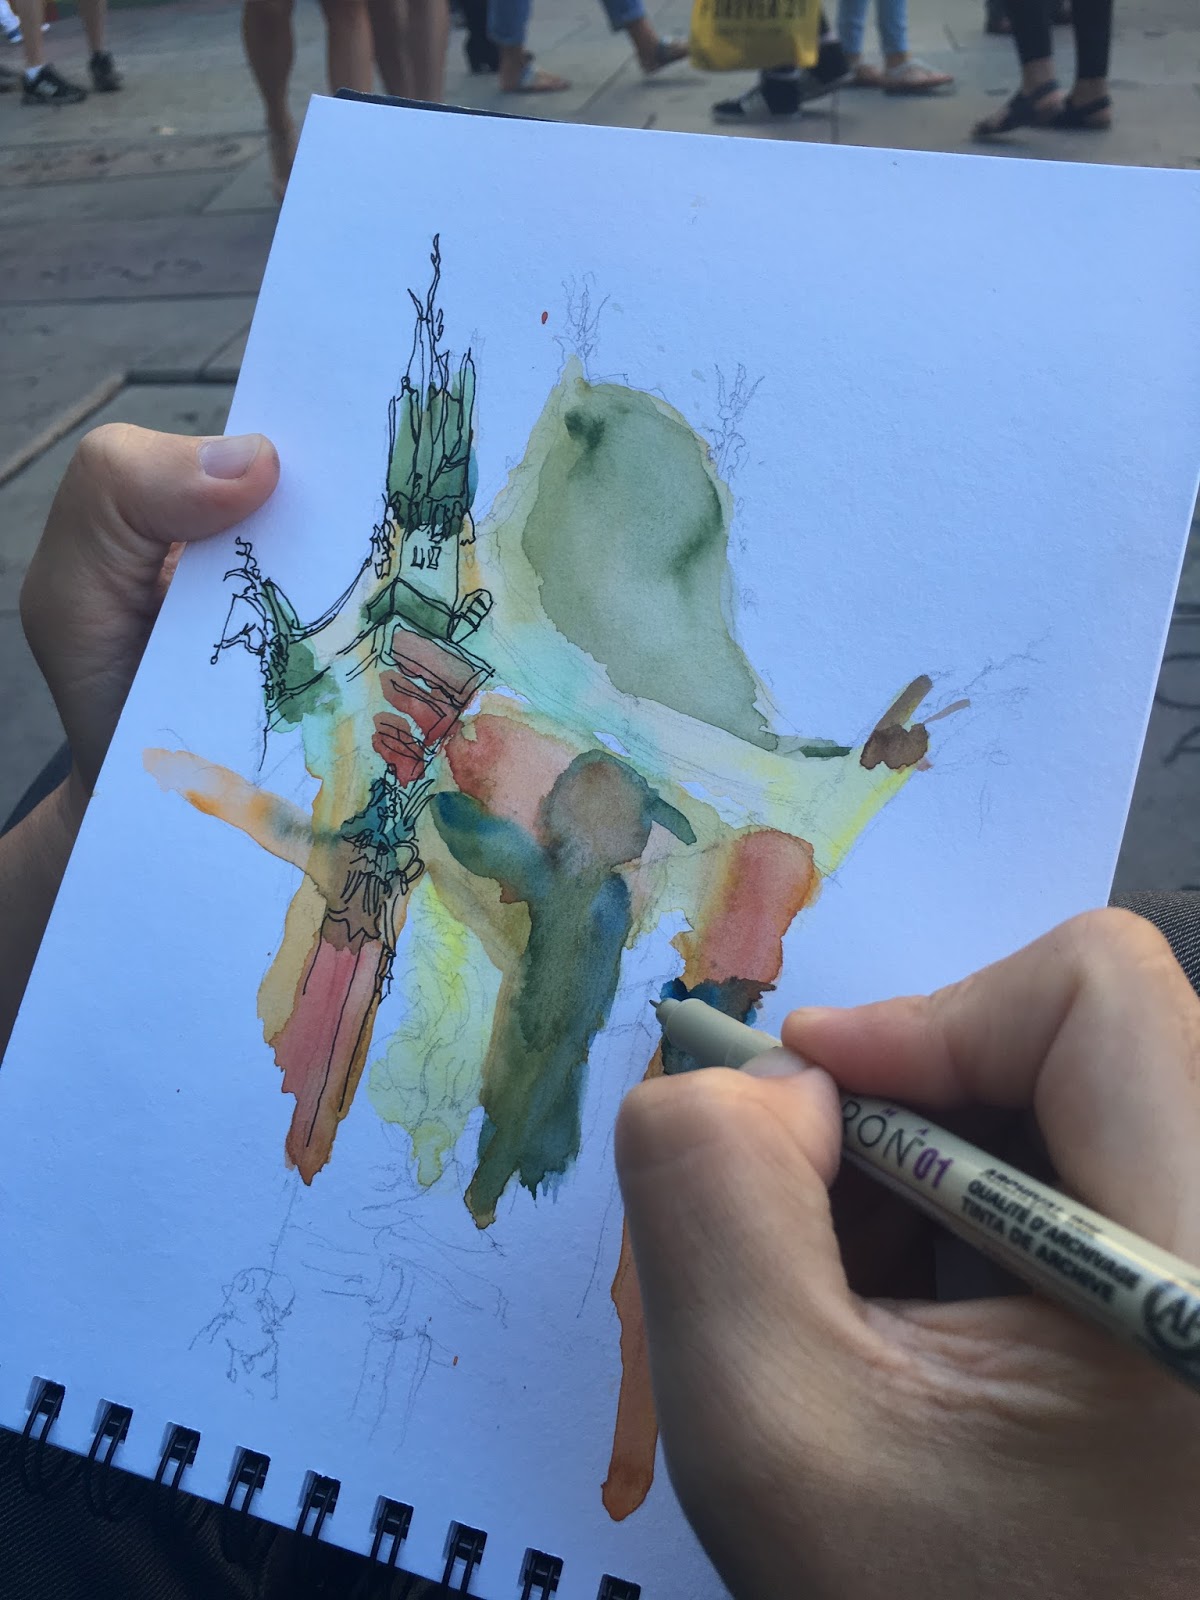
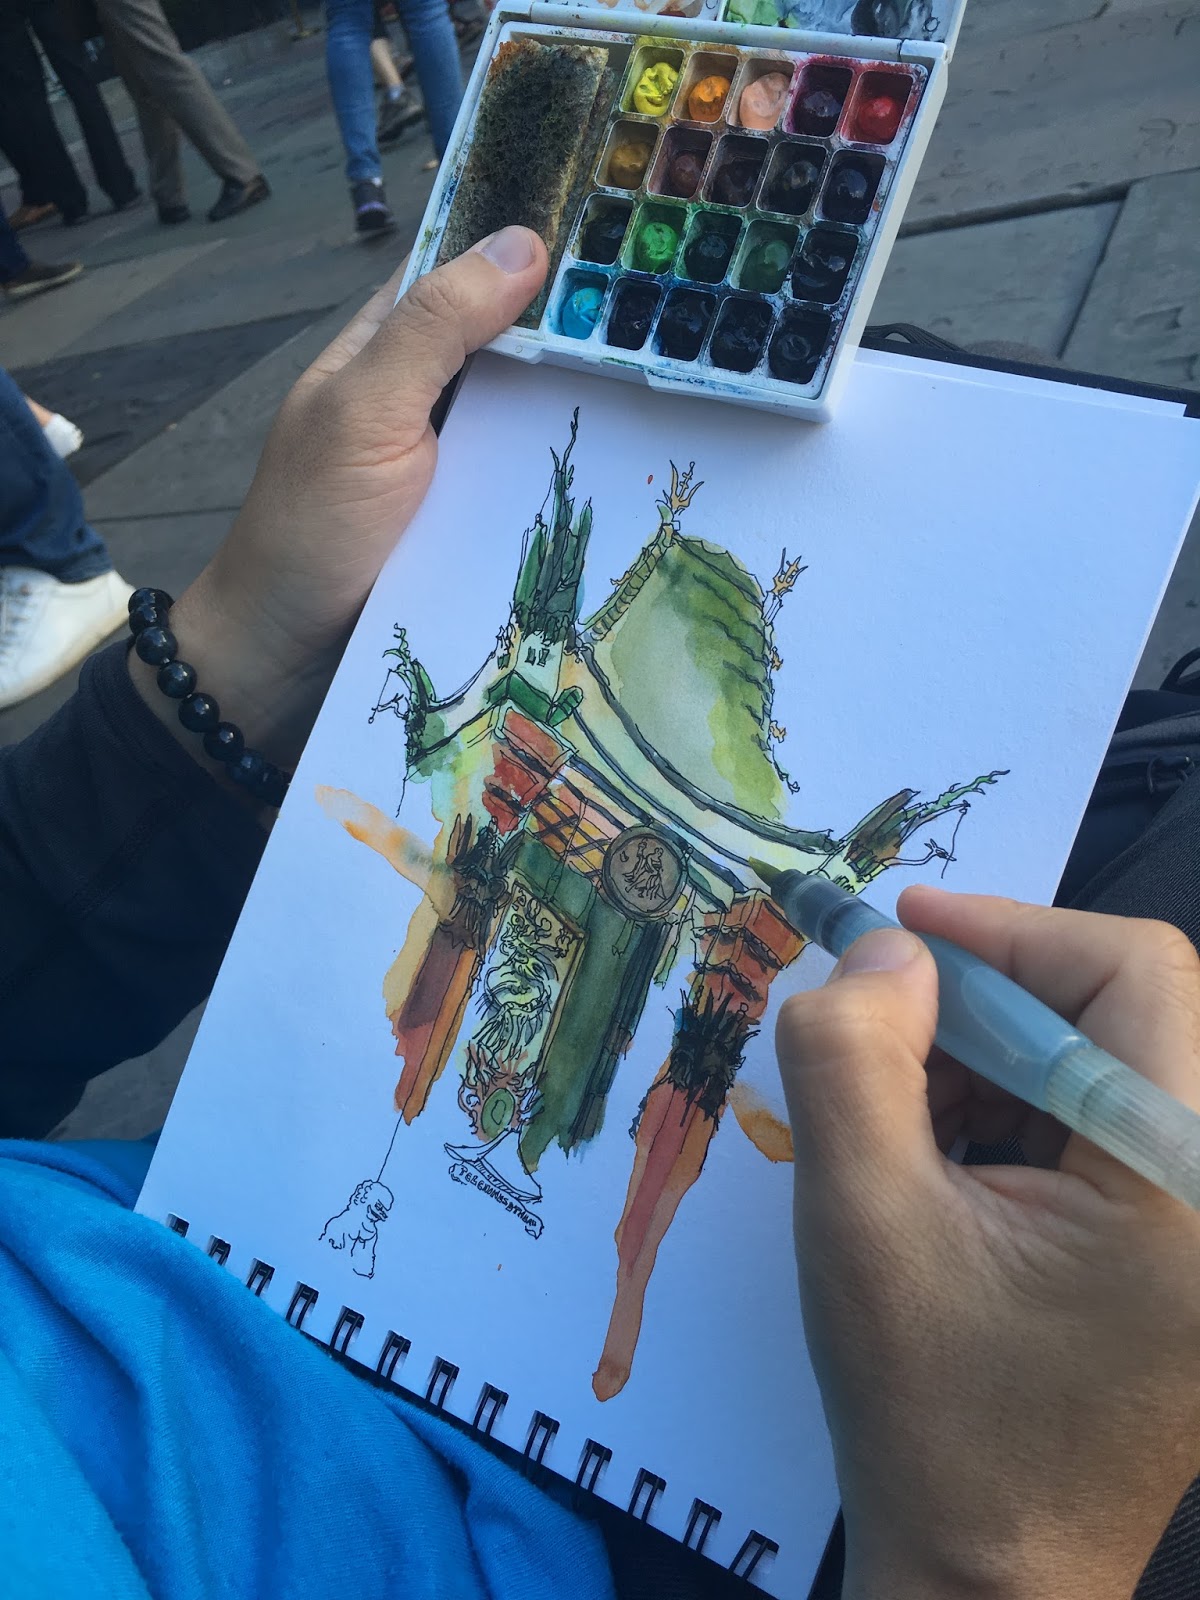
For my most recent family trip to LA, my wife let me sketch the famous TCL Chinese theater in Hollywood. She was sitting by my side for most of the time and took pictures of me while I sketched.
Sketchers knows this well in detail but the great thing about sketching is it allows you to control the details/colors of what you see. The sunlight was so strong during this time of the day that when taking a photo the dark/light contrast was too strong and made it an awful photo like shown below.

But when sketching, that could all be changed.
Here's the breakdown of the steps I took.
Pencil: 10 minutes. Once again I felt like I was cheating when using a pencil... I'm quite sure this feeling isn't going to go away for while.

Color Wash: 15 minutes + 5 minutes of drying time.
Inking: 30 minutes
Additional color: 15 minutes. Adding more dark spots and details using my trusty Waterbrush.
Finishing with White accents: 5 minutes. I used 2 different white gel pens that has different opacities.

Total time: 90 minutes.
Here I'm sitting in the corner with my mini stool trying to take up as little space as possible since there were tons of people and I didn't want to get stepped on! But what's nice about a place like this is that while there are tons of people, they just come, take a few pictures, and then leave making it pretty easy to sketch without being obstructed by people.

This was a fun day and I'm glad I was able to get this sketch thanks to my wife.
Here's my wife that slipped into my sketch-selfie shot!
For me 90 minutes is an awfully long time for 1 sketch, especially when I have someone waiting for me. I don't think I'll be able to use this approach frequently but I found it refreshing to be able to occasionally work on a different approach.

2 comments:
Wonderful work and I love the process photos/descriptions. Also may I ask how you made that brush protector? I can't believe there's nothing like this on the market!
The brush protector was made the same way as how I made the inserts for my watercolor case: 3D printer.
I accurately measured my brush and created a simple cone looking shape in CAD and had it printed out. It works great but unfortunately only works with my 1 brush! I'm pretty happy with it though :)
Post a Comment